An easy way to make infused hard candies is to melt down existing candies. But there's a trick to this. The following is a tutorial showing easy ways to accomplish this. Just add your cannabis oil (or FECO) in with the melted candy mixture before hardening.
How to Melt Hard Candy
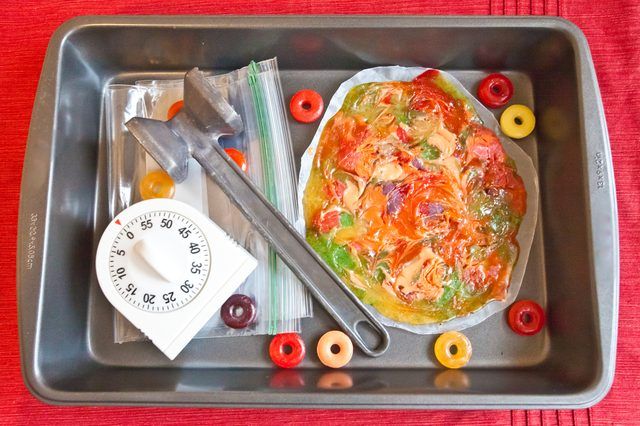
Melting hard candies in the oven or on the stovetop saves time versus making hard candy from scratch. This shortcut works well when you want to make stained glass sugar ornaments, windows for gingerbread houses, a windshield for a car cake, or to achieve the look of water. The oven method is best for retaining color detail in candy or to achieve a marbleized effect with multiple colors.
Stovetop
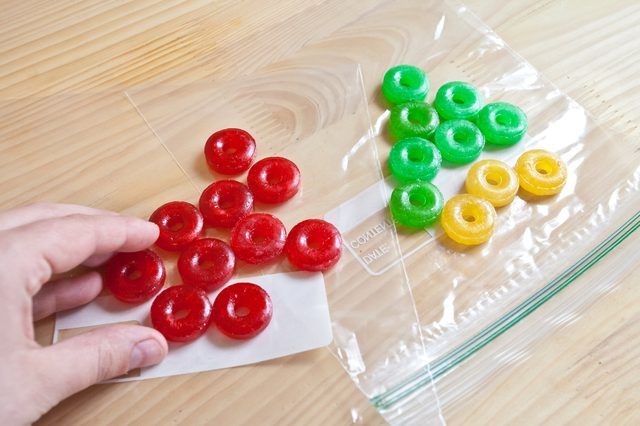
Divide the hard candy by color into separate zipper seal bags so you can melt each color separately.
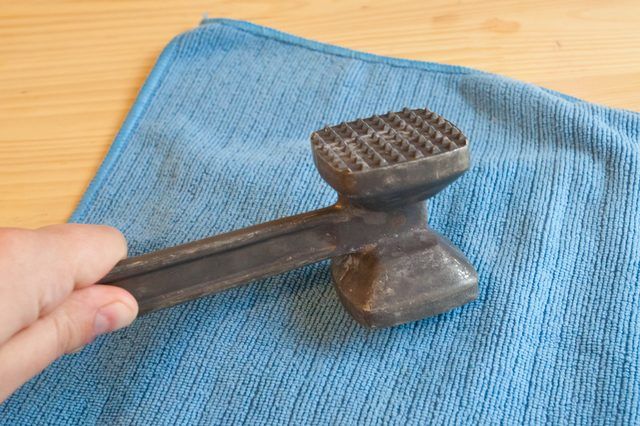
Set each bag on a hard work surface and lay a towel over it. Pound the candy with a mallet or roll over it with a rolling pin to crush it into smaller pieces. Crush the candy first so it melts faster and more evenly.
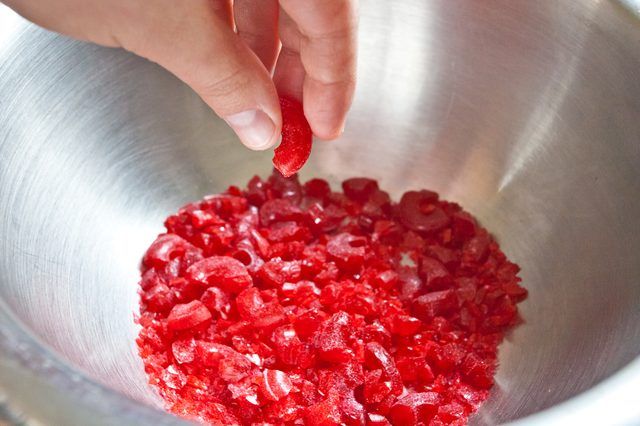
Add the candy to a saucepan with a thick bottom; the thick bottom helps prevent burning. In the absence of a thick-bottomed pan, add the crushed candy to a double boiler with water in the bottom part of the boiler.
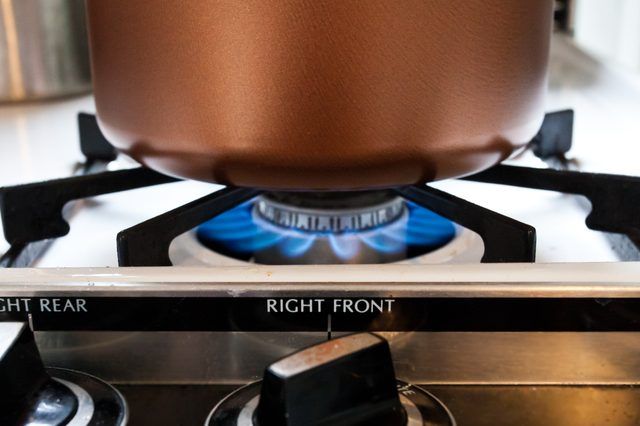
Turn the burner to "low" and monitor the pan carefully. Boil the water on medium-low to medium heat if you use a double boiler.
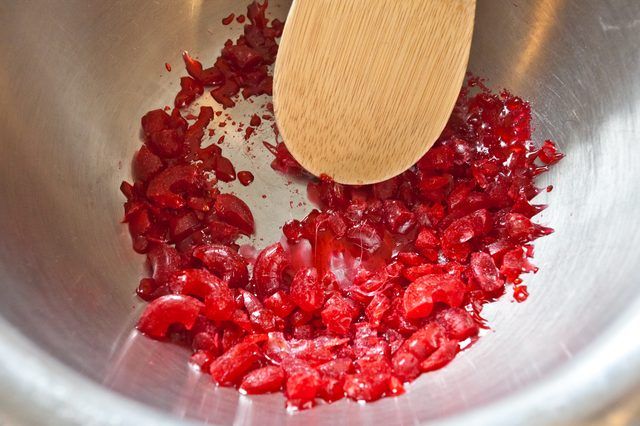
Stir the candy frequently at the first sign of melting -- the candy will begin to shift in the pan slightly as it melts. Remove the pan from the heat immediately after all bits of candy are melted, within about 5 minutes. Use immediately because the candy will cool and harden quickly. Hard candy melted in this way can be poured into molds to make lollipops, into metal cookie cutters to make candy shapes, or poured in a baking sheet lined with wax paper to make a sheet of candy.
Oven Method
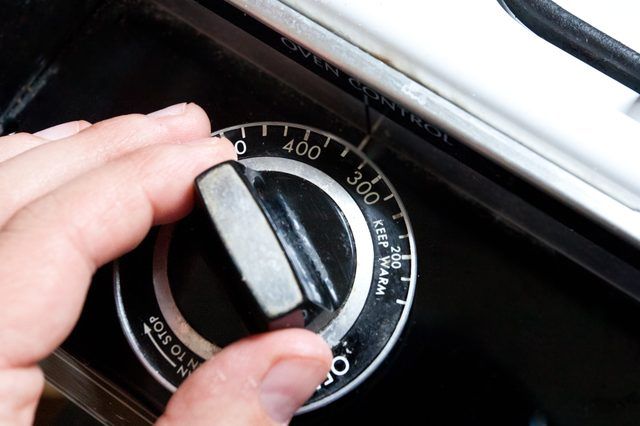
Preheat the oven to 300 to 350 degrees Fahrenheit depending on the presence of cookie dough in your process. A temperature of 300 F is actually best for melting the candies by themselves without scorching, but when you melt candy inside a cookie cutout, the recipe might require a 350 F setting.
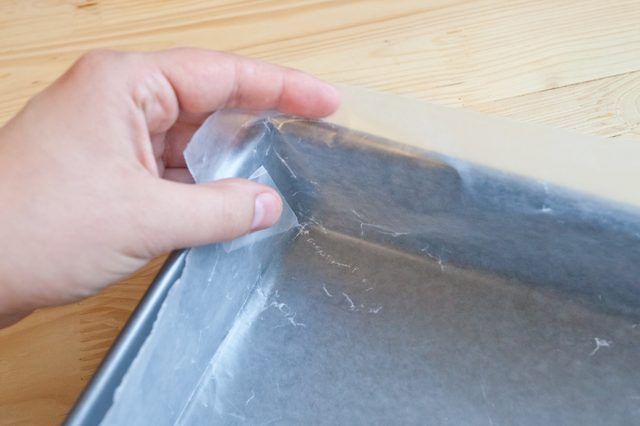
Line a baking sheet with wax paper or aluminum foil. Cut the paper or foil large enough to extend up the sides of the pan to keep the melted candy mess contained.
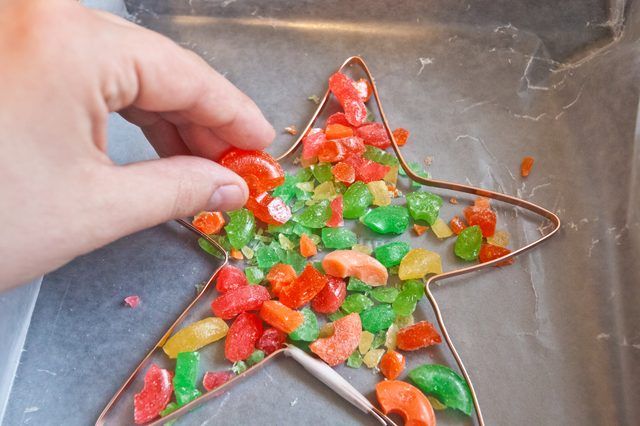
Crush the candy on a hard work surface. Fill in the cutout of a cookie on the baking sheet, making a slight mound above the top of the cookie dough. For example, roll out sugar cookie dough and cut out a large star shape. Cut out a smaller star shape from the large star, filling in the small star with crushed candy for a glass-like effect. Another option is to place metal cookie cutters on the baking sheet, filling in the space with crushed candy to make glass-like candy shapes. Or instead of crushed candy, use whole candies in different colors to make a marbleized design. Alternatively, line up the candy in even rows and columns so it melts in a rectangular, tray-like form.
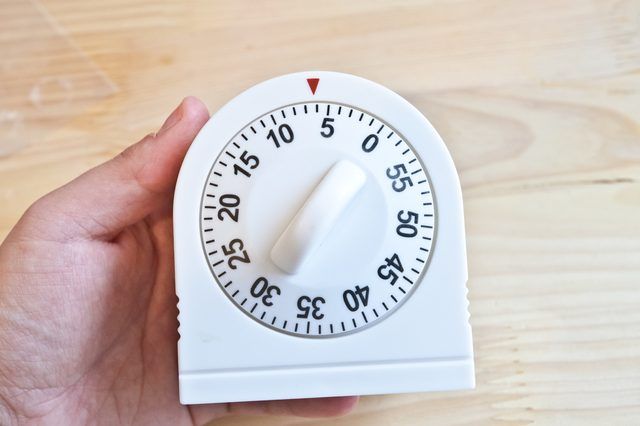
Bake the candy for 5 to 7 minutes or until the candy is melted and completely flat. Monitor the candy constantly after about 5 minutes and remove it just before the hot candy begins bubbling so it doesn't scorch.
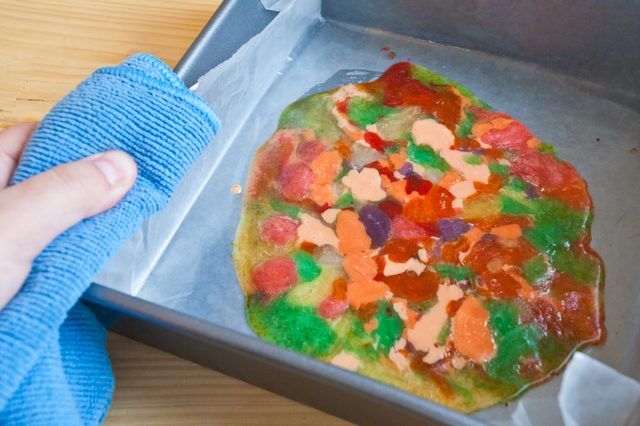
Remove the pan from the oven and set it on a level surface to cool. Transfer the pan carefully, holding it perfectly flat, so the melted candy doesn't slide to one side of the pan. This is especially important when making a tray from hard mint candy when you want to retain the green or red stripe detail. Allow the candy to cool for 20 to 30 minutes or until completely cool and hard.
How to Melt Hard Candy
Melting hard candies in the oven or on the stovetop saves time versus making hard candy from scratch. This shortcut works well when you want to make stained glass sugar ornaments, windows for gingerbread houses, a windshield for a car cake, or to achieve the look of water. The oven method is best for retaining color detail in candy or to achieve a marbleized effect with multiple colors.

Stovetop

Divide the hard candy by color into separate zipper seal bags so you can melt each color separately.

Set each bag on a hard work surface and lay a towel over it. Pound the candy with a mallet or roll over it with a rolling pin to crush it into smaller pieces. Crush the candy first so it melts faster and more evenly.

Add the candy to a saucepan with a thick bottom; the thick bottom helps prevent burning. In the absence of a thick-bottomed pan, add the crushed candy to a double boiler with water in the bottom part of the boiler.

Turn the burner to "low" and monitor the pan carefully. Boil the water on medium-low to medium heat if you use a double boiler.

Stir the candy frequently at the first sign of melting -- the candy will begin to shift in the pan slightly as it melts. Remove the pan from the heat immediately after all bits of candy are melted, within about 5 minutes. Use immediately because the candy will cool and harden quickly. Hard candy melted in this way can be poured into molds to make lollipops, into metal cookie cutters to make candy shapes, or poured in a baking sheet lined with wax paper to make a sheet of candy.
Oven Method

Preheat the oven to 300 to 350 degrees Fahrenheit depending on the presence of cookie dough in your process. A temperature of 300 F is actually best for melting the candies by themselves without scorching, but when you melt candy inside a cookie cutout, the recipe might require a 350 F setting.

Line a baking sheet with wax paper or aluminum foil. Cut the paper or foil large enough to extend up the sides of the pan to keep the melted candy mess contained.

Crush the candy on a hard work surface. Fill in the cutout of a cookie on the baking sheet, making a slight mound above the top of the cookie dough. For example, roll out sugar cookie dough and cut out a large star shape. Cut out a smaller star shape from the large star, filling in the small star with crushed candy for a glass-like effect. Another option is to place metal cookie cutters on the baking sheet, filling in the space with crushed candy to make glass-like candy shapes. Or instead of crushed candy, use whole candies in different colors to make a marbleized design. Alternatively, line up the candy in even rows and columns so it melts in a rectangular, tray-like form.

Bake the candy for 5 to 7 minutes or until the candy is melted and completely flat. Monitor the candy constantly after about 5 minutes and remove it just before the hot candy begins bubbling so it doesn't scorch.

Remove the pan from the oven and set it on a level surface to cool. Transfer the pan carefully, holding it perfectly flat, so the melted candy doesn't slide to one side of the pan. This is especially important when making a tray from hard mint candy when you want to retain the green or red stripe detail. Allow the candy to cool for 20 to 30 minutes or until completely cool and hard.